Continous Integration BW5.12/Jenkins - Part I
Dec 3, 2014First some pre-requisites.
The workflow of a Continous Integration with BW would be (GIT is used in this case, same thing can be done with SVN or other source control tools as well):
Developer:
- Tibco Designer —-> create & save —-> Project
- Project — push to repo — > GIT
Jenkins:
- GIT — clone project locally to—> project_dir
- buildear — create deployment artifact to —> project_dir/app.ear
- AppManage — extract config from ear into —> project_dir/app_config.xml
- Script (Ant, bash,..) — modify configs within —> project_dir/app_config.xml
- AppManage — combine ear and configs —> deploy to BW domain
- GIT? —> commit/push deployment artifacts together with config
The Jenkins job can be run manually, scheduled or, if configured correctly, with the source control system, on every check-in/push.
This article covers only a really abstraced view on the process, which can grow to complexity. Only some random thoughts what has to be clearly defined before setting up CI (without beeing complete):
- The CLI tool chain from TIBCO is needed on the same box, where the applications are build (either on a Jenkins bot, or some remote scripting…), how can this be achieved (Licences..?)
- Build strategy: how is the branching/staging done? So, we need to tell Jenkins what to check out from where/when (on every build?) Manually if new branches are created?
- The target environment: how many staging boxes are there (Dev, Test, UAT, Prod)? Should the build be done automatically on which ones? Is there access from Jenkins (or it’s bots to all the needed machines?)
- Any quality assurance before deployment? Source code checks (e.g. naming conventions, comments,…), automated testing?
- What happens in a case of failure? What would be the way to recover a (former) working version of the application?
- How can new jobs be added to Jenkins? Any Administrator/Ops Team? Automated?
- Any automated reports needed?
Following steps have been done on a Windows Box (AWS Windows Server 2012).
Jenkins installation
- Go to Jenkins Homepage: http://jenkins-ci.org/
- Download Windows Package / Unzip and start >setup.exe<
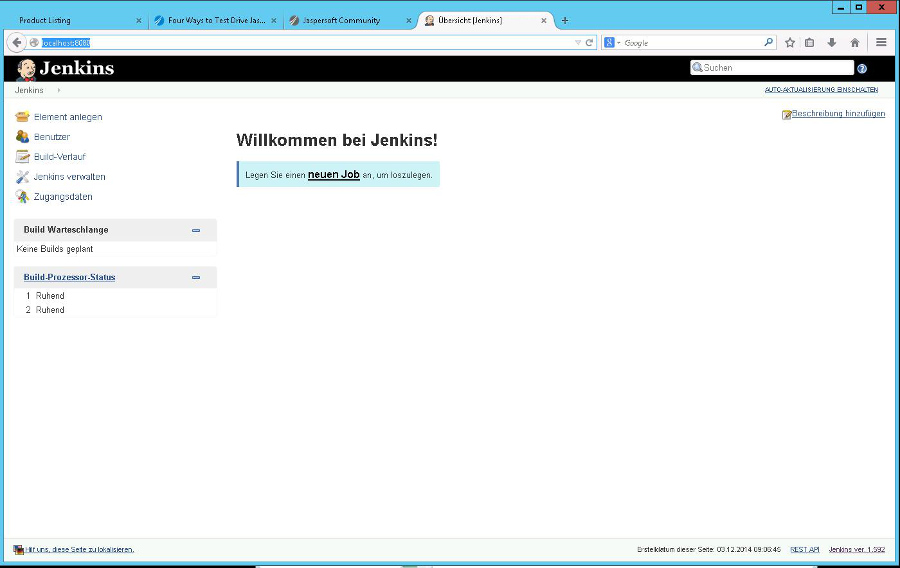
- Choose the installation directory. After setup is completed (on my box) a browser pops up, showing Jenkins waiting for jobs.

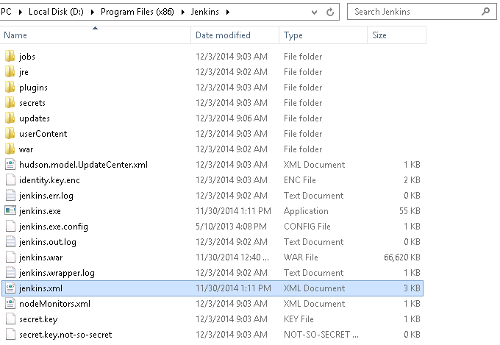
If you need to change the port of Jenkins standard configuration, it can be changed by editing the jenkins.xml file (change httpPort=8080) which is located in the installation directory (choosen during installation).

This was my original config - useful to increase heapsize etc:
<service>
  <id>jenkins</id>
  <name>Jenkins</name>
  <description>This service runs Jenkins continuous integration system.</description>
  <env name="JENKINS_HOME" value="%BASE%"/>
  <!--
    if you'd like to run Jenkins with a specific version of Java, specify a full path to java.exe.
    The following value assumes that you have java in your PATH.
  -->
  <executable>%BASE%\jre\bin\java</executable>
  <arguments>-Xrs -Xmx256m -Dhudson.lifecycle=hudson.lifecycle.WindowsServiceLifecycle -jar "%BASE%\jenkins.war" --httpPort=8080</arguments>
  <!--
    interactive flag causes the empty black Java window to be displayed.
    I'm still debugging this.
  <interactive />
  -->
  <logmode>rotate</logmode>

  <onfailure action="restart" />
</service>
After applying any change, restart the Jenkins Service using e.g. the Windows Task Manager. For this article I changed the Jenkins Port to 6060.
For more details (e.g. issues or advanced config, such as installing jenkins as a slave, check out: the jenkins wiki.
Preparation of BW5.12 scripted deployment
Within TIBCO BusinessWorks 5.12 ear-files (deployable artifact) are created via the TIBCO Utility/Script BuildEar. The deployment is done via the AppManage Utility. Both are available after installation of BW TRA.
The AppManage utility must be run on a machine that is part of the administration domain you are updating.
Example manual steps for deploying an application:
AppManage -deploy -ear D:\jenkins\ears\deployment\helloworld_service2.ear -deployconfig D:\jenkins\ears\deployment\hello_service-bw5_dev.xml -cred D:\jenkins\cred.txt -app TestServices/hello-service -domain bw5_dev
In this case we would deploy & start a service within the TestServices folder. The AppManage Tool is located in the tra folder of your installation (e.g. C:\tibco\tra\5.9\bin).
The ear file can be created automatically via the build tool:
buildear.exe -s -ear /helloworld_service.archive -o D:\jenkins\ears\deployment\helloworld_service2.ear -p C:\Users\Bob\Documents\bw5\helloworld_service
Options:
- ear) takes the name of the project archive file, don’t forget the leading slasch!
- o) is the ouptut directory
- p) is the directory of the project (where the archive file is located)
The buildear is located in the same directory as the AppManage Tool. For more specific explanations check the Tibco Documentation!
Before deploying, as mentioned before, the config file has to be created (by AppManage) and adjusted to the target environment where the deployment will happen (usually a clever script).
Export the config of an existing ear.
AppManage -export -ear D:\jenkins\ears\deployment\helloworld_service2.ear -out D:\jenkins\ears\deployment\helloworld_service2.xml
Or, in any case following command can be useful to export a current config from the Admin. It helps to understand what has to be changed inside the config file (when you are setting up things the first time)…
AppManage -export -app TestServices/helloworld_service -out D:/jenkins/helloworld_service.xml -domain bw5_dev -cred D:\jenkins\cred.txt
Next steps will include
- Jenkins/Git Integration
- automated checkout by Jekins
- automated deployment by Jekins